ROLL UP YOUR SLEEVES…
It’s here, after weeks of waiting your little slice of Japan has finally put rubber on English soil. You’ve dreamed of this day since you first laid eyes on the auction listing and no doubt you have carefully set out your plans for sprucing up your new pride and joy. New tyres, light upgrades, coilovers, new head unit, new seats…the list goes on. I mean, after all that obsessing while your car sailed its way over to England you probably have a shopping list as long as your arm!
While your wallet recovers, there are several things you can do to breathe some life back into your new motor. One of the most satisfying would be to give your engine bay a damn good detail. Every time you pop the hood to tinker with the engine or show your friends exactly what your new ride is packing, a clean engine bay can be one of the most impressive parts of your new purchase. It is, however, no small feat, especially if your new pride and joy is from the ’80s, the ’90s or ’00s. Years and years of baked-on grime and grease are hard to shift. And you’re probably not too keen about spraying down your engine bay with a pressure washer, all those electrical connections need to be considered before you swamp the bay in soapy water. But, you can achieve impressive results with just a few tools, some cleaning fluids and a few microfiber towels.
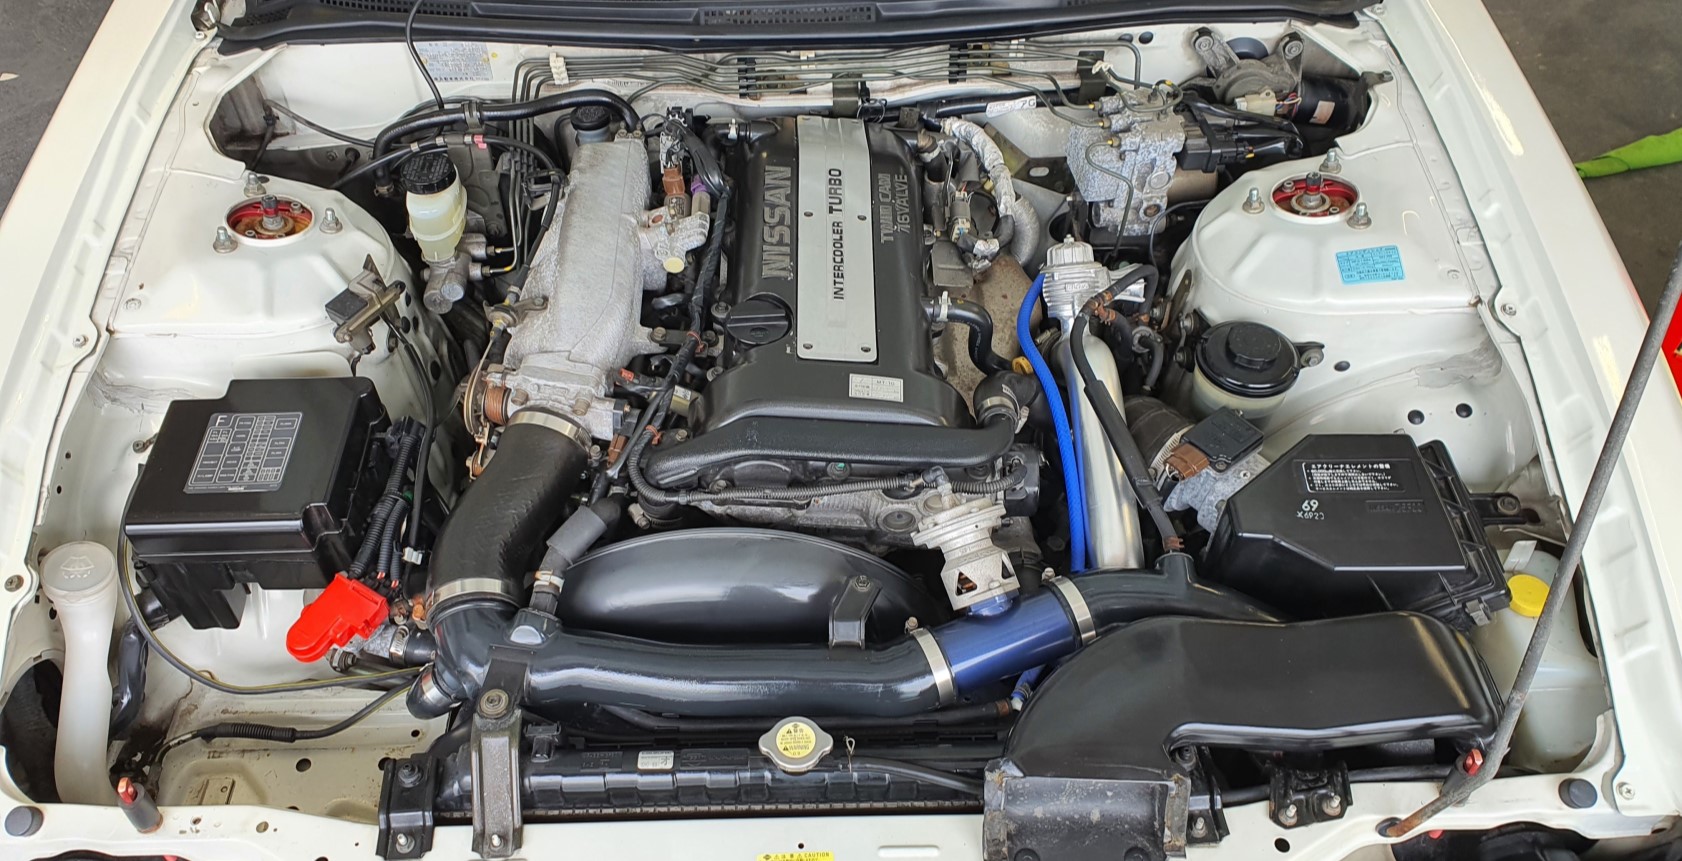
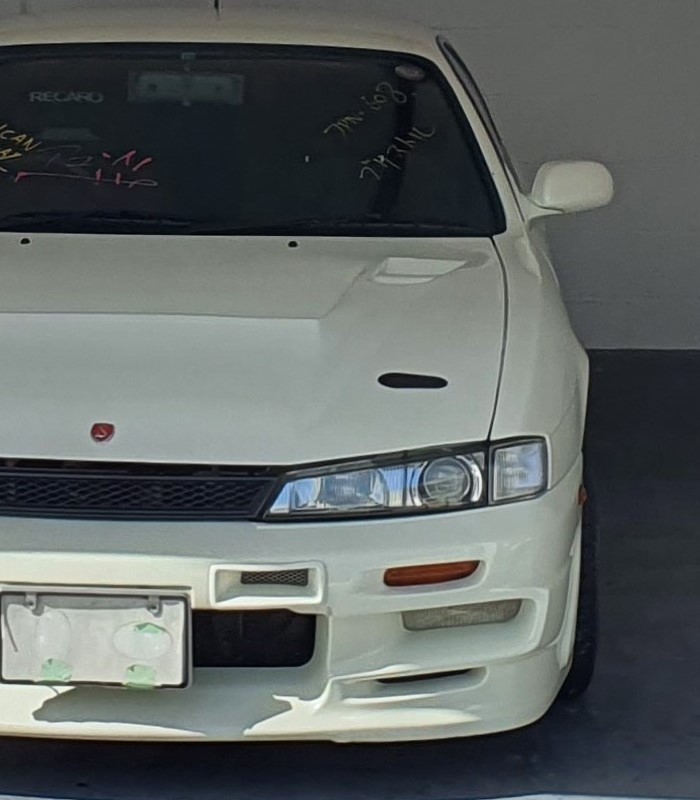
We recently brought a Nissan Silvia S14a K’s into stock and after popping the hood it became clear very quickly that the engine bay had never been detailed. While the mileage was low and everything under the hood was in good working order, the years had not been kind with the grime and grease that comes with motoring. So, we thought we would take you through our process of cleaning the bay and that may help with restoring your JDM daily.
We use a mixture of Auto Finesse and Auto Glym fluids to shift the muck and the tools are all available on Amazon. We’ve linked some below for you to consider…
SAFETY FIRST
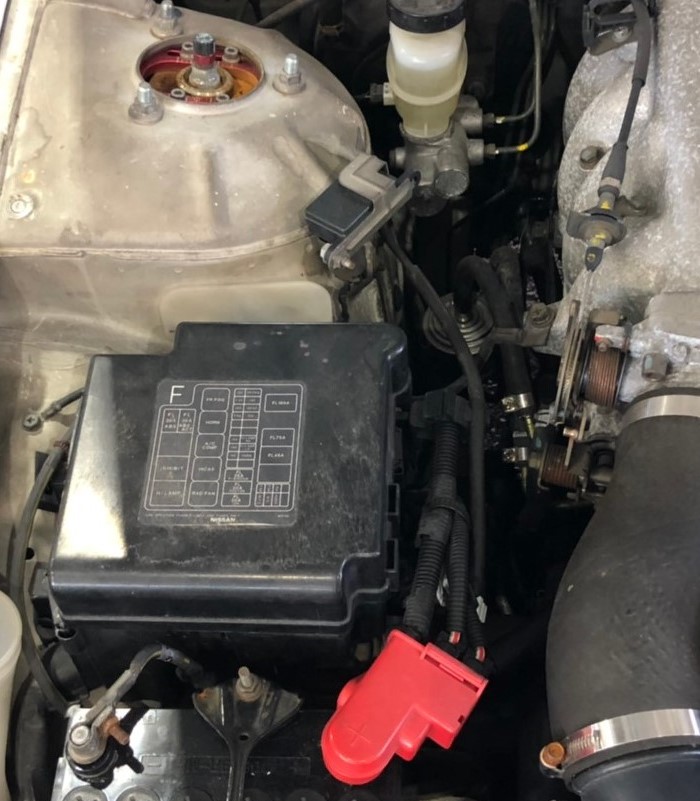
Unhook your battery. Whilst we won’t be dousing the engine bay in water, we are going to be using fluids so safety first. Also, we are going to be cleaning underneath and around the battery compartment so get it out of the way and give yourself some room to work. You may also want to use masking tape to wrap around any electrical connections at this stage.
If you have any disposable gloves throw a set on as well. You are going to be delving around in years of who knows what so unless your tetanus shots are up to date, cover your bases. Also, cleaning your hands after you have finished is nearly as much as a task as cleaning your bay!
WORK YOUR WAY IN…
We find it best to start around the edge of the engine bay; work on the chassis, the painted areas and engine peripherals before moving on to the engine itself. Break out that engine degreaser and spray down the outer edges and plastics. Leave it to sit for a good 10 minutes and then give it another spray over. You should see your degreaser start to melt away that grime so at this point its time to use the firm bristle brushes and start lifting off the dirt with a good scrub. As you work your way around clean up the dirt and fluid with a microfiber towel. The trick here is not to be shy; get your hands in, around and underneath all the components where you can but remember, you aren’t going to be viewing your swanky bay from underneath so don’t go crazy and get your hands stuck! As you work around try not to let the degreaser dry, you want to keep it moist so it keeps working and doesn’t dry the dirt back on. So, as you work don’t forget to keep spritzing the areas you are working up to.
Once you have the outer edges done, start working on the block itself. Spray down the larger parts with your degreaser but avoid spraying the electrical connections and anything that looks fragile. Use your firm bristle brush on the rocker cover, manifold and intake pipes. However, switch to your soft bristle detailing brushes around electrical connections, vacuum pipes and anything that looks fragile. The soft bristle brushes will be good for getting into those hard to reach places and around wires and tubing. Try to avoid getting any of the fluids on your belts and pulleys, they are usually tucked away pretty well, but, just be aware of them as you spray down the block.
Again, as you clean wipe up the aftermath with your microfiber towels. It’s also good at this stage to moisten up a microfiber towel with degreaser and give each wire and hose a good rub along its length (ahem).
ONCE MORE FOR LUCK…
At this stage, your bay is probably looking pretty good and its tempting to leave it and move onto treating the plastics. But patience will work wonders here. Get out your soft bristle brushes and bottle of degreaser and go over everything you have just done again, outside to in. You’ll find as you work your way into the block that you’ll be getting the last of the grime and your towels won’t be picking up as much dirt.
Once we are happy that we have the bay looking sparkling as possible as a final stage we like to get a weaker mix of isopropyl alcohol (1 part iso to 9 parts water) to wipe down all the paint and metals. The iso will be really good at getting rid of those final grease smears and helping you buff the paints and metals to a nice finish. Do NOT spray down any soft rubbers or wires with iso though, the isopropyl can leach out plasticizers and leave them dry which is no bueno for your wires and vacuum hoses.
Once you have done the final iso wipe down get a clean microfiber towel and go over everything you have previously brushed and soaked. You should be trying to buff paints and plastics and dry out any damp patches or standing water. By doing this you’ll find spots you may have missed, clean microfibers are a good way of tracking down those hidden dirty patches. As you buff each section just check the cloth and when you notice spots of grime getting picked up on your towel, it’s time to get the degreaser out and give those little spots another go over.
Leave a Reply